
notes from maggie's farm

Friends, I cannot be held responsible for the effect that what I'm about to share with you is going to have on your soul, your waistline, or your love life. You must agree to not hold me liable for late-night open-fridge plunderings, glassy-eyed, full-tummy states of bliss, or that crowd of people that's going to be following you around. Because whatever your feelings about the ubiquitous melted processed cheese product dip (really. c'mon. it's pretty good. not real good for you. but hard to pass up.), you can put all not-real-food guilt aside, and just be cheesy fabulous. Seriously. We;re about to make...
Homemade Queso
from cow to cupful, all natural, homegrown heaven.

Yield: 1 1/2 quarts
Ingredients
1 gallon raw milk (see notes, below)
1/8t mesophilic starter culture
1/16th liquid rennet diluted in 1/8 cup cool water
3t baking soda
2t kosher salt (adjust to taste)
2T butter
1. Heat milk to 86 degrees. Turn off heat. Add the mesophilic starter and mix thoroughly. Add diluted rennet and stir with an up and down motion. Put the lid on the pot and let it sit for 12 hours. Before proceeding, make sure there is a layer of whey (the yellow-ish clear liquid) on top of the curd. If not, let it sit a couple of hours longer so the curd firms up.
2. Using a big slotted spoon, scoop the curds into a colander lined with butter muslin. Tie the ends of the cheesecloth/muslin and hang to drain for 12 hours until very thick, like cream cheese. Turn cheese over in the muslin bag after 3 hours of hanging so inside of cheese drains well.

3. In a large bowl, mix baking soda and salt into cheese curds. Beat with an electric mixer until cheese is light and airy and baking soda and salt are thoroughly mixed through.
4. Let sit for 30 minutes. Melt the butter in a large saucepan (I call on my nonstick deep fryer for this). Add the cheese and stir to combine with butter. Melt on low heat. If desired, you may add cheese coloring, or annato, while the cheese is melting. About a dozen drops will color cheese a deep yellow orange like the processed cheese you buy in the store. I skip this step. I like the 'look' of homemade.

5. In about 3 minutes, you should have a beautiful, smooth cheese ready to go into a mold. I've used a loaf pan, lightly sprayed with nonstick silicone spray, for ease of removal. Chill until solid. When ready to use, cheese should slip out of the mold easily, for slicing. If it's a little stubborn, slice around the edges with a knife to loosen from the sides of the pan, and tap pan firmly after inverting on plate. Alternatively, you can simply scoop it from the pan.
6. If your cheese comes out thinner than you'd like, try draining the cheese longer for your next batch, or mix in a little cornstarch diluted in cool water when heating the cheese with the butter.

Onto ingredients and materials-- Obviously, there are a few items here you're not going to find on common grocery store shelves. Where to procure?
Depending upon location, raw milk can be tricky to obtain. Some states have laws to protect you from such tomfoolery as home cheesemaking. Some states allow raw milk to be purchased directly from the farmer/dairy, and some states only allow this if the milk is intended for animals (not including you and what your cheese cravings turn you into). An internet search for raw milk (your state) should tell you everything you need to know, and after a little digging, you'll find local sources (ours is commonly purchased here).
Searches for home cheesemaking should be helpful, also. Our local home beer brewing supply carries cheesemaking supplies, including cultures and rennet. The product commonly sold as cheesecloth will be of no use to this process, only causing you lost time, money, cheese, and patience. Butter muslin is what you want--a much finer weave, and can be washed and reused over and over. You can find most of these products for sale online or through mail order catalogs.
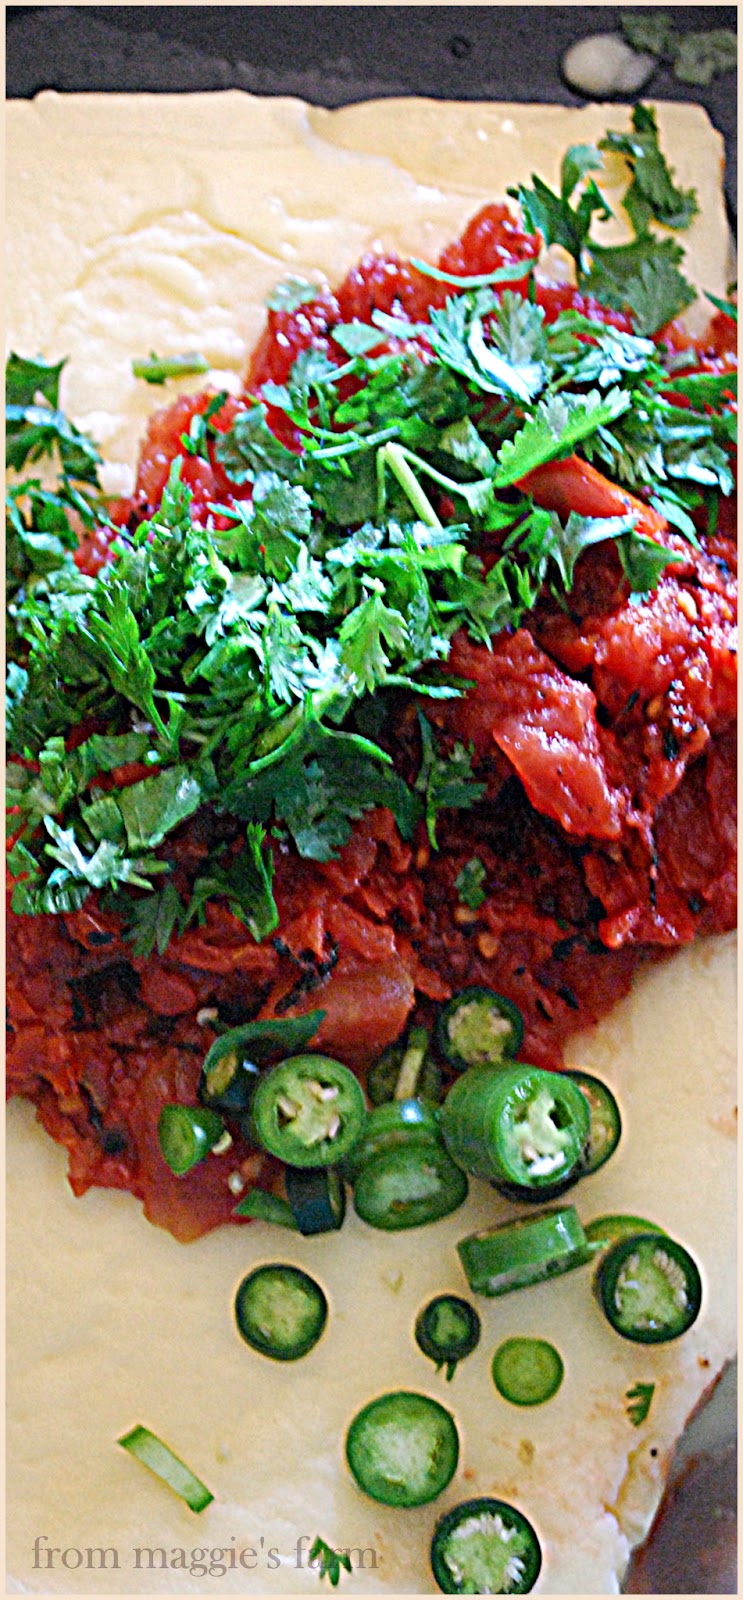
While it may seem like we're just gilding the lily at this point, we sometimes make what you'll find in local restaurants under names like queso especial, or (insert name of establishment) queso, or queso-that's-ridiculously-kicked-up-a-few-notches-as-if-it-weren't-already-decadent-enough--and that is a bowl of crazy-delicious; a scoop of guacamole, a smattering of pico de gallo, then a dousing of queso, above. You dip your chip straight down--then retrieve creamy guac covered in dripping, tangy queso, and perhaps a chopped tomato, onion, or pepper slice, too. I'm going to have to stop the description there. I'm quite overcome. Oh my, now I want it for breakfast.
When we first moved here 15 years ago, this then-single mom allowed her young daughter to eat this bowl of saturated nirvana for dinner--yes, the entire bowl, and that, only, because she said it was the best thing about Texas. Hey! She was homesick. I occasionally indulged her desire for comfort food. What can I say? Although, for a time there, it appeared to be our common gateway drug-- we were junkies for all things Tex-Mex. We eventually righted the ship and got back to all things in moderation. We missed green vegetables. But I digress.
Could you just melt the cheese without adding anything to it? Well, sure! And you'd have a very fine cheese sauce all on it's own if you did. We've drizzled it over sauteed spinach, broccoli, cauliflower, an omelet, and our finger. It's all quite good.
So its a few hours away--Friday Happy Hour, that is, and there will be hundreds, neigh thousands, of joyful, perhaps slightly inebriated people ushering in the weekend, dunking away their chips in a bowl of yellow goodness all over Texas, and Tex-Mex ports, beyond. Why don't you one up them all, maybe mix up a batch of margaritas or put a few cervezas on ice.....and make yourself some all-natural, homemade.....
QUESO!


Maggie -
ReplyDeleteThis is pure genius! Love it!
Michelle
Thanks, girl! It makes me feel just a tad less guilty about eating a bowlful of it, knowing that it is actually REAL cheese.
ReplyDelete